Here's what you need to get started:

- Quilt Batting, you can get in a package like this at Walmart or you can go to a fabric store and buy it by the yard. This is a Poly-Blend but you can use any kind of batting you'd like.
- 1 stretched artists canvas in what ever size you'd like. I find a 16x20 makes a great sized board and you can find these at Walmart or if you are near a Michael's, they run them on sale alot for 40% to 50% off.
- Staple Gun and staples. I highly recommend you get one like the one pictured, The Easy Shot! They are fabulous! Your hand doesn't feel like its going to break after a few staples with this type gun. Check your local hardware store.
- Fabric of your choice, however much you need to cover the canvas. I use about 2 inches more on all 4 sides than the size canvas I am using. (ex. 16x20 canvas = 18x22 piece of fabric)
- Ribbon to go with your fabric and some buttons as well.
- Not pictured are some hem tape, Heat-n-Bond iron on adhesive ( 5/8 to 3/4 inch size, ultrahold strength is best) and 3/4 white ribbon.
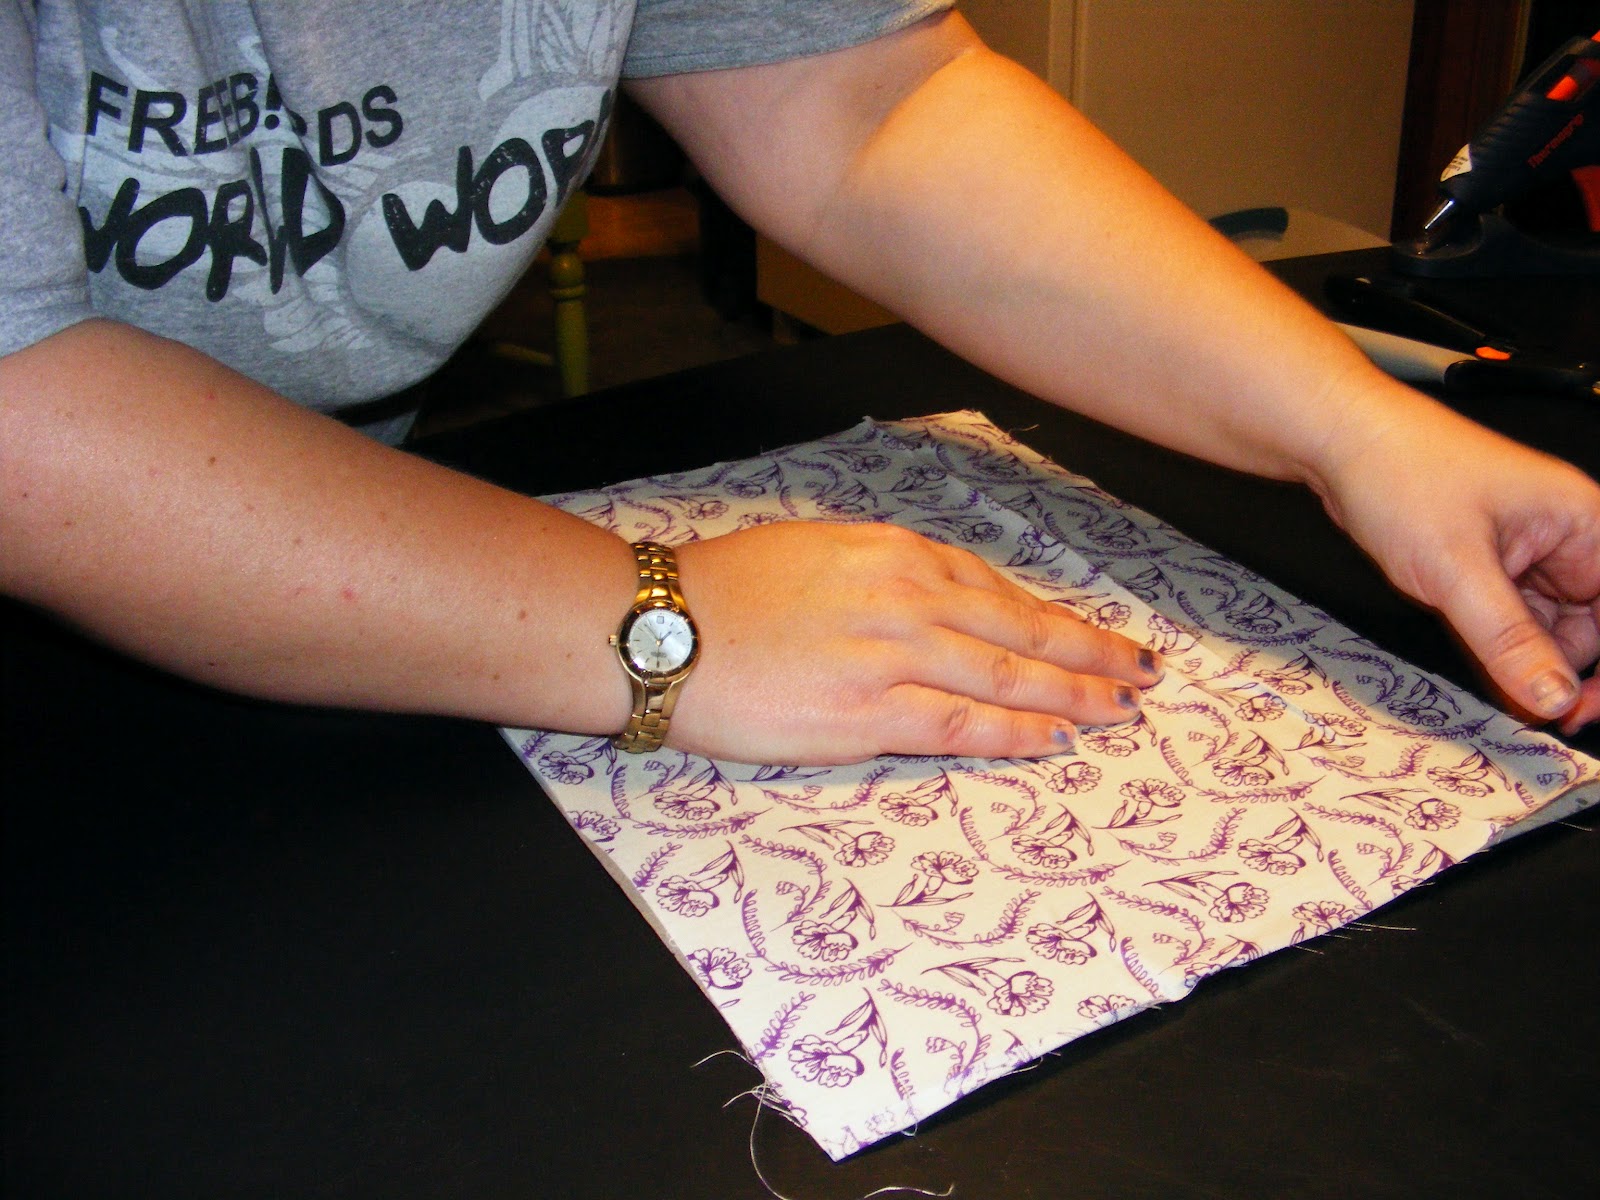
The first thing you want to do is cut your fabric to the size you need. Remember at least 2 inches extra on each side.


Lay your fabric wrong side up on your work surface and add batting on top. Take your canvas and place it upside down on the batting.

Now comes the fun part, STAPLING!!! (Yeah, I need to get more, I know.) Making sure you have your canvas centered on your fabric/batting, take your staple gun and staple the center of one side, pulling the fabric tight.

Be sure to staple once in the center of the 1st side then turn and staple the opposite side, then repeat with the remaining sides. You should have 1 staple in the middle of each side at this point. You need to start this way to make sure you get the fabric stretched across the canvas good and tight.
From here you start on one side and staple the fabric down along the edges to about 1/2 inch or so from the corners. Take a small hammer and tap the staples in when you finish each side. Remember to work opposite sides!


This is how your board should look at this point in the process:

The corners are pretty easy to do once you get the knack. 1st you straighten out one side of the corner like the picture below:

Next you fold the corner downward towards the other side. Then lay it back over and staple it flat. Add extra staples if you need, be sure to hammer them too!


Once you have all 4 corners done, trim away the extra fabric.

Your memory board should look like this:

Now you will take you coordinating ribbon and stretch it out across the front of your board at an angle, leaving a little over hang on the loose end of the ribbon. Flip the board back over and staple one corner down.


Repeat this step again to form a an X on the front of the board.

Continue on with your ribbon until your board looks like mine!


Now we will move on to how I finish the back. You don't have to do this step but I didn't like the way the back looked with all those staples so I figured this easy way to dress it up! Take your white (or whatever color, really doesn't matter) ribbon that is about 1"inch wide and your hem tape (HeatnBond) and cut both to fit one side of your memory board.
Place the hem tape on the board and lay the ribbon on top so it covers the iron-on adhesive. Using a hot iron, gently press down on one end of the ribbon for about 5 to 10 seconds, move down the length of the ribbon. This will fuse the ribbon to the rough edge of the fabric and the wood on the back of the board. Do remaining 3 sides and you will have a nice clean looking back to your board!


At this point you can sew on some buttons if you'd like or you can glue them on. I sew mine on because it gives the board a quilted look. You do not have to even put buttons on it if you don't want to, just a personal preference of mine!
Well there you have it folks, really neat memory boards that take no time to make! Finished product looks great, I think!