I saw this idea and thought once again, "Hey I can do that!"....so I did. What I did not do was my nails before I started taking these picture! Ignore the half worn off polish okay? LOL!
That being said, here is a step by step guide to making this magnetic makeup board. You can make it however big or small you need. (I used 10x13 frames.)
Things you will need to complete this little project:
- Old picture frame, spray painted whatever color you'd like
- Piece of metal cut to fit inside of frame. I used galvanized flashing my father in law had laying around but you can get some at a local hardware store. You can use any metal that magnets will stick to.
- Spray adhesive
- Piece of fabric to cover the metal. I use fat quarters from Walmart ($.97/each.) They are cheap and you can find all kinds of pretty stuff!
- Small button sized magnets (craft section at Walmart)
- Hot glue gun and glue
- Makeup
- Small container for makeup brushes and eyeliners and such. I lucked out and found the ones I used at the Dollar Tree. They come in red, blue, green and purple and they are in the school supplies isle as magnetic pencil cups! You can make your own out of large pill bottles from the pharmacy painted to match.
Here is a picture of everything I used

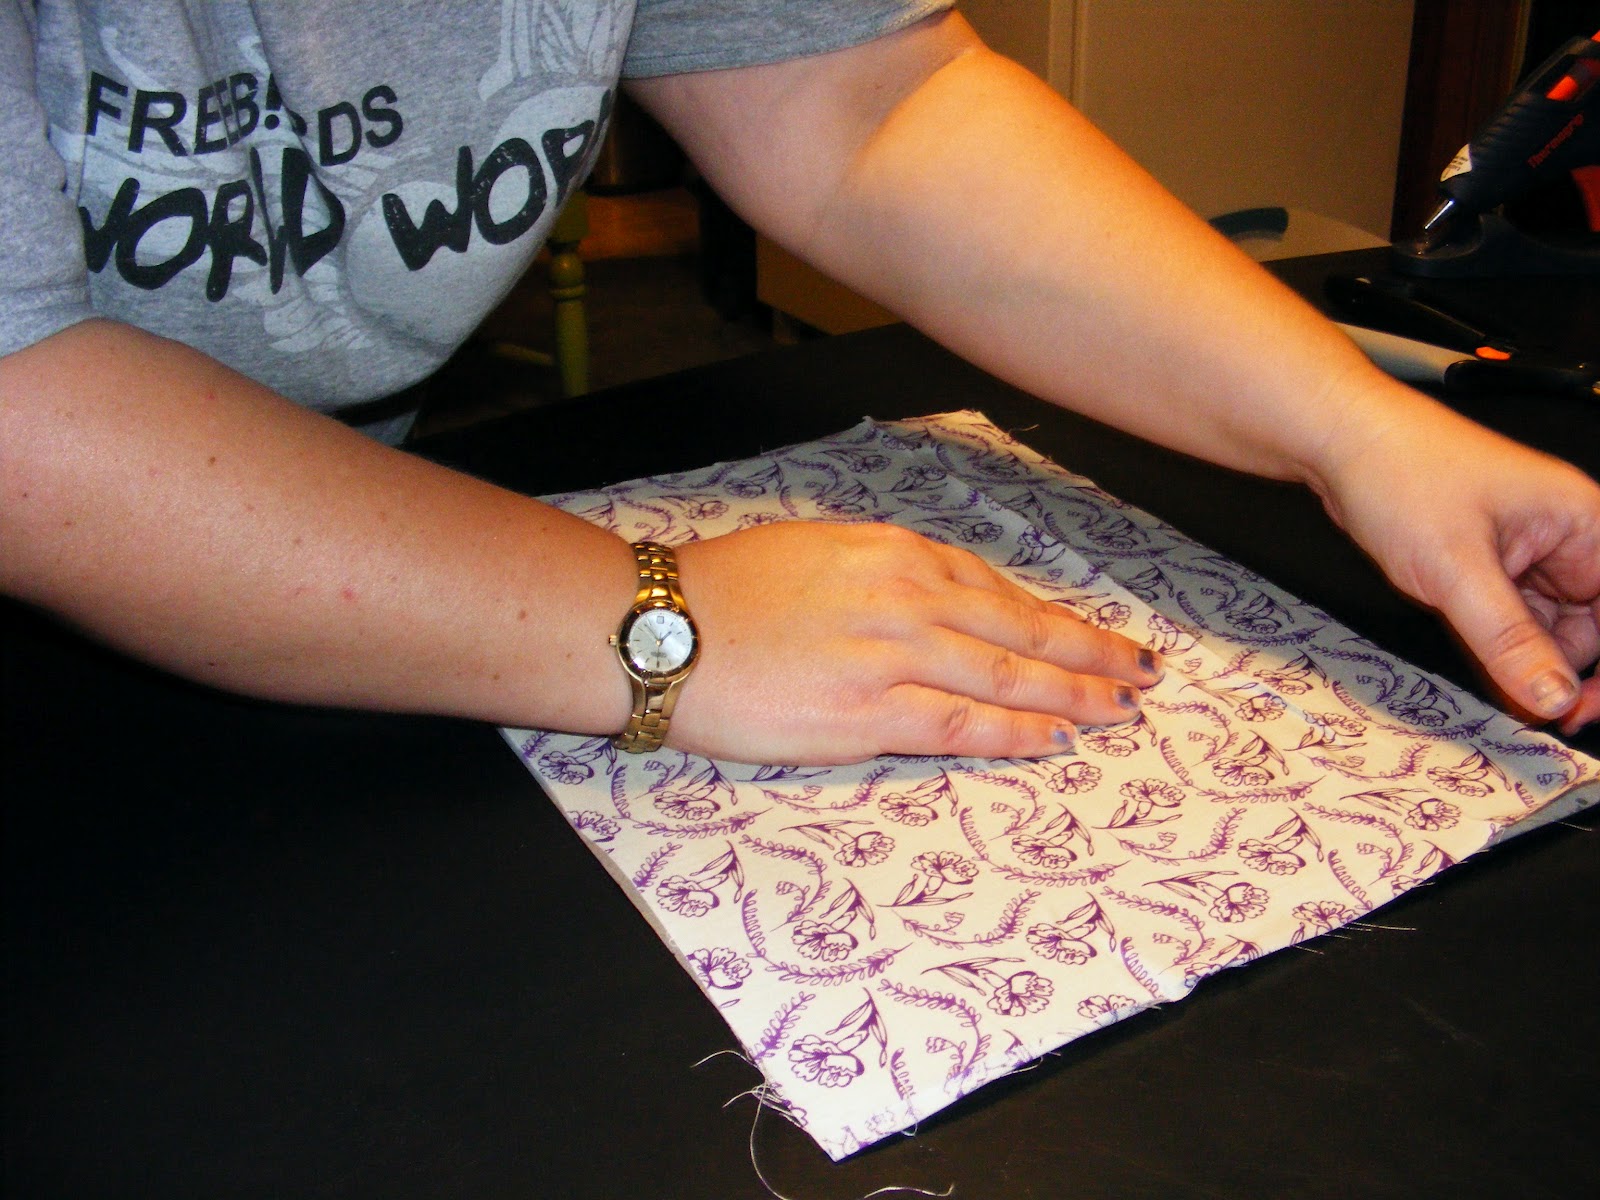
So the first thing you want to do is cut your fabric to be slightly larger than the metal.

Next, spray your metal with the adhesive. Be careful when spraying because this stuff will go everywhere!

Quickly stretch your fabric over the sprayed metal and smooth out all the wrinkles and bubbles. You have a few minutes with the brand of spray I used but too much lifting and repositioning will make you have to start over with the spray.
You are ready to put your fabric covered metal into your painted frame at this point. Be sure to trim any extra fabric off for a nice clean look on the back. You can take clear caulk and run around the back of the frame for some added stability if you want but if you frame has lots of tabs to hold it you will be fine.

Gather your makeup, some button magnets, and a hot glue gun for this next step. On the back of your makeup, hot glue 1 magnet for the small ones and 2 for larger compacts. Hot glue is great because once the makeup is used up, you just pop the magnet off and glue it on your new container!


I ran into one issue with one of the girls eye shadows. The container was not solid on the back so I had to fill in the gap so the magnet would reach the board. I used old buttons I and glued them in the hole 1st, then added the magnet. You can always just double stack the magnets if you need to. I have 4 of these to make so I was trying to conserve my magnets!

It is at this point I would like say that I think after Caller Id, the cordless glue gun is the best invention of all time! Okay well maybe not of all time but certainly to a crafty person like myself! I highly recommend you invest in one!
I add some extra magnet strips to my container just for a some security. If you make your own, obvious you will want to. You can get magnet strips at Walmart in the craft section too.

And there you have it, a pretty magnetic makeup board of your very own! This one is my youngest daughters, the bottom one belongs to my 2nd to oldest girl!


No comments:
Post a Comment